Trezor Unpackaging and Review
Finally Received My White Trezor in the Mail Today!
The Trezor
This is my first hardware wallet, so I was unsure what to expect. Here is a picture of the package front:
And of course a picture of the package back:
The package was surprisnghly hard to open. While there were seals, taking the seals off did not make the package any easier to open. However, once I opened the package, I found:
- The Trezor
- The USB cable to connect the Trezor to a computer
- A keyring for easy holding of the Trezor
- Two recovery seed key papers (to be filled out once the Trezor was set up)
So, I booted up my computer and headed over to Trezor’s website. Once I plugged in my wallet, the firmware began to install (it does not come with firmware, forcing the user to install the most up to date version). Then, I began the actual setup process:
- Create a pin. The pin creation process was actually very cool. You create a pin using the standard nine digit, 3x3 square pin pad. However, the pin numbers do not show up on the computer screen – you use the pin numbers from the Trezor’s filled in pin pad and hit the matching space on the pin pad on the computer. This way, the Trezor may create a random pin pad each time, but you keep the same pin passphrase. Thus, if a hacker were to get your pin combination from the computer, they would not be able to get into your Trezor without seeing the corresponding numbers from your one-time pin pad. Having just taken cryptography, I think this is REALLY cool. It is essentially an implementation of the one-time pad. The one-time pad is a cryptographic encryption technique where two people use the same one time encryption key to send a message. This one time encryption key changes every time. Trezor has essentially created a pseudo-one-time pad with their pin pad passphrase.
- Write down recover seed. Once you have set the pin passphrase, you then will see 24 words come up in a very specific order. The Trezor goes through the words twice. This is how you can recover your Trezor if you lose the pin passphrase.
- Send some money to your new wallet! Since I had liquidated 40 STEEM I sent $35 worth to my new wallet!

After exploring the Trezor software some, I also noticed they support a few other coins as well.
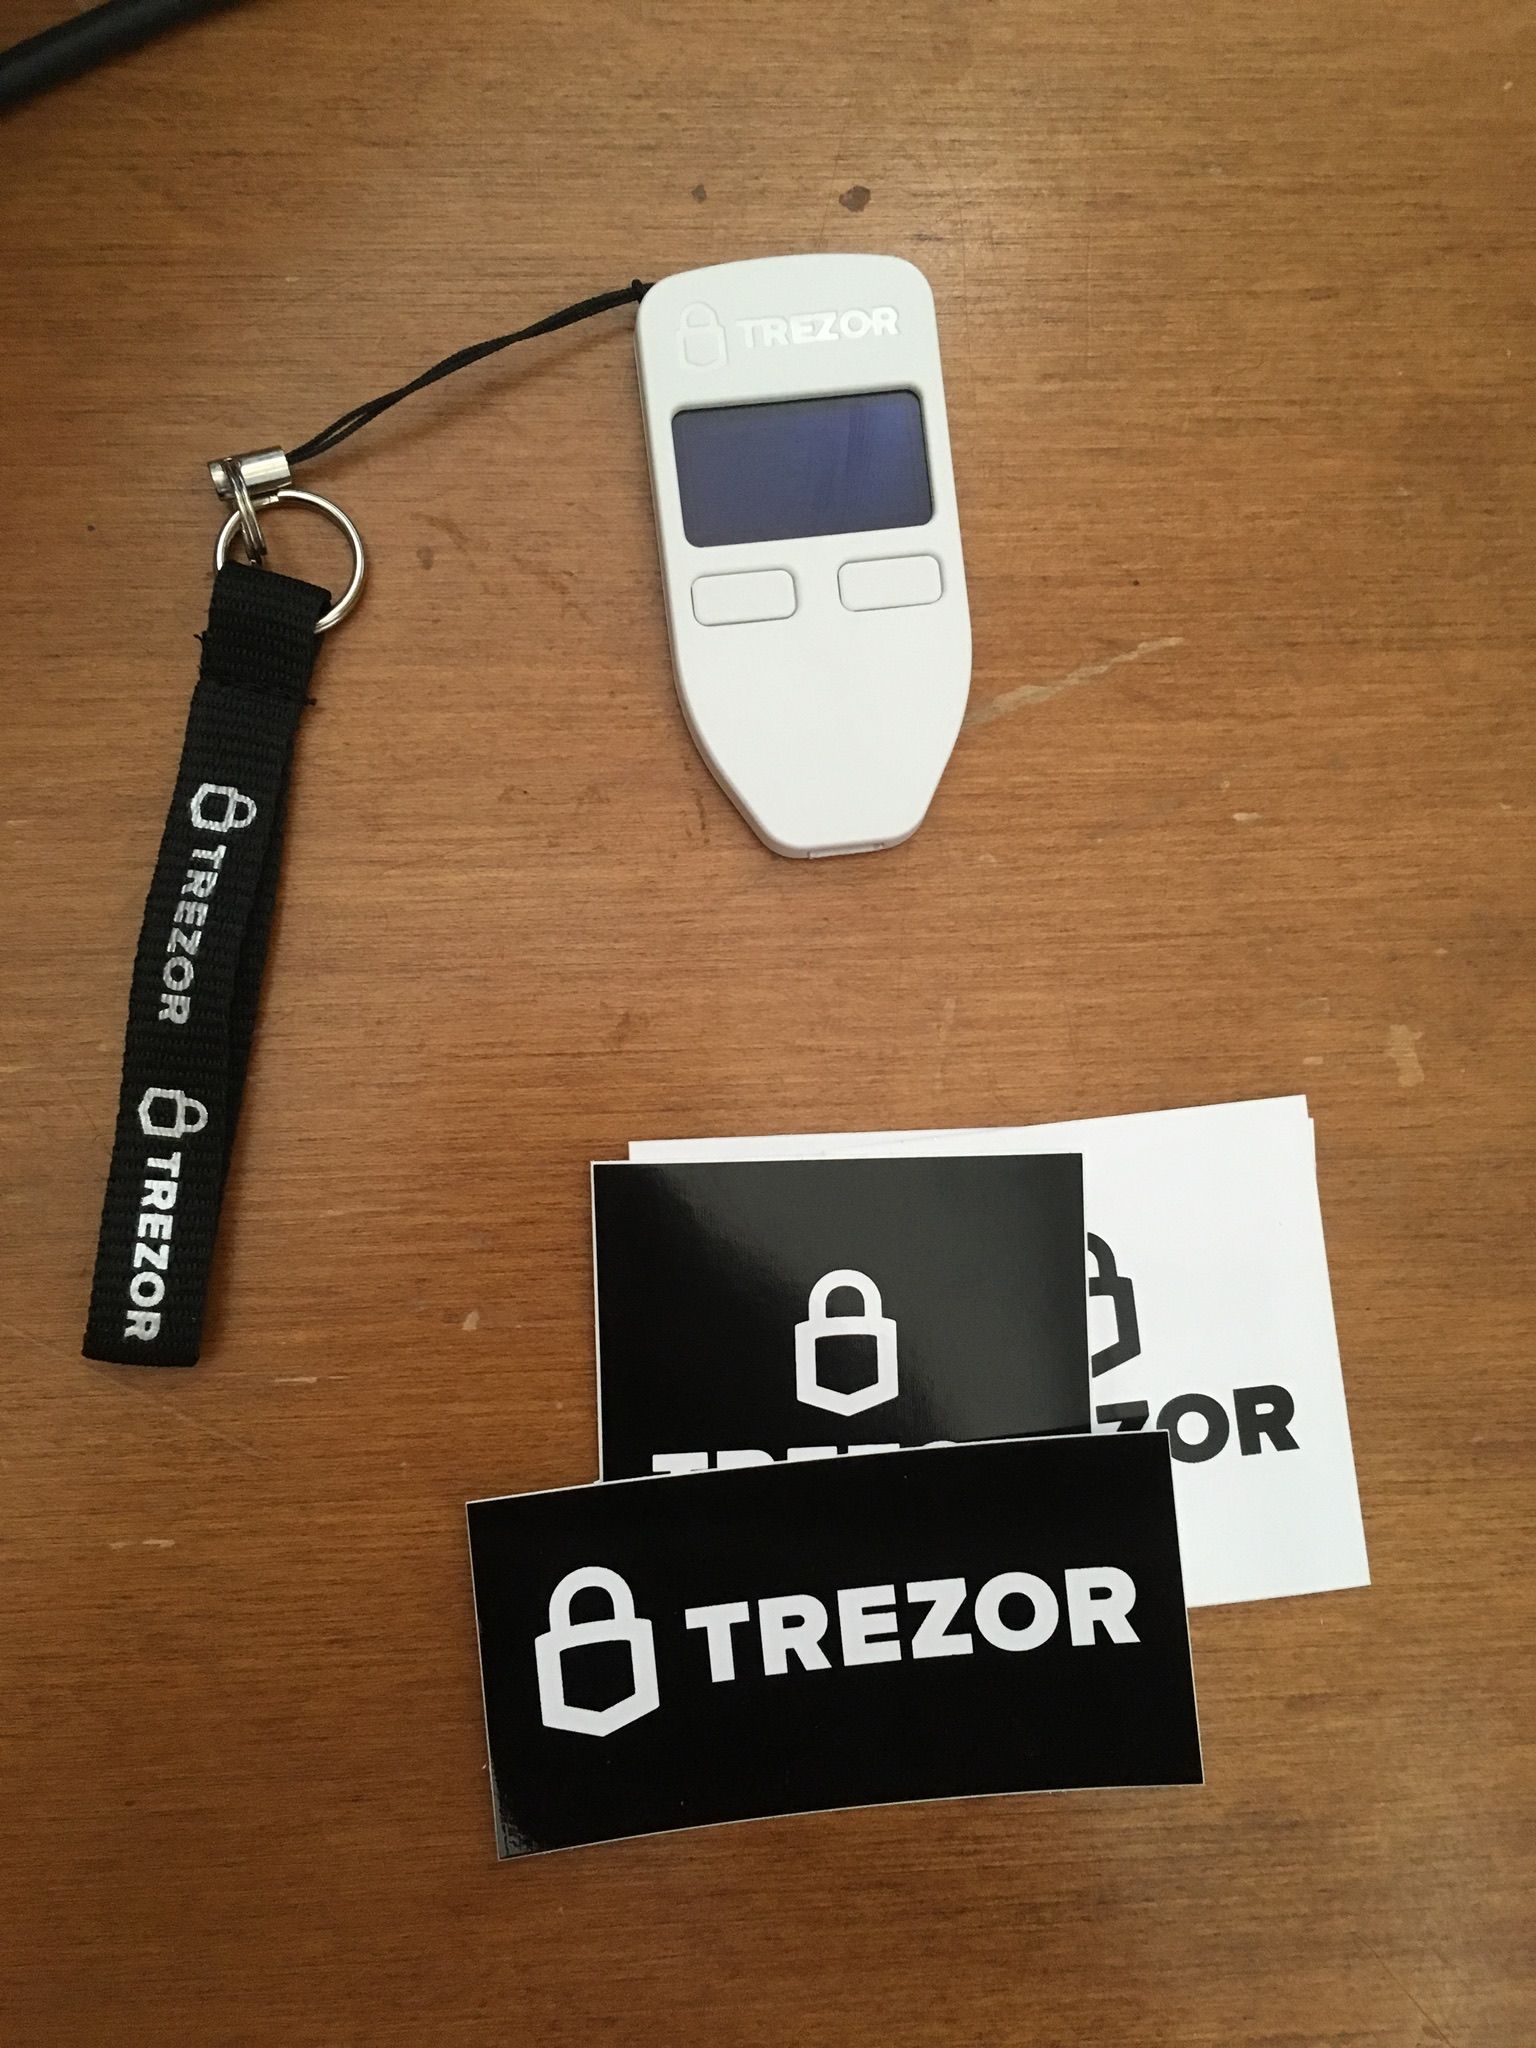
And here is my Trezor with some of the swag it came with.
First Impression
My first impressions were very positive. The packaging was simple, yet had everything I thought should be included (although for the less intuitive techy, there were no instructions so if your first intuition was not to go to Trezor.io, or plug in the Trezor you may be confused on how to begin). The setup was very fast and easy. The Trezor itself is simple, yet complete – as advertised on the website. From setup to money transfer, it took maybe 10 minutes. So far, highly recommend!
Note: Not endorsed by Trezor, simply a happy customer.
Cheers!
Comments